Aqua Systems Available CAD Files
Please click on the model numbers below to access 2-D Drawings.
(3-D Drawings available upon request. Please contact Aqua Systems for more information.)
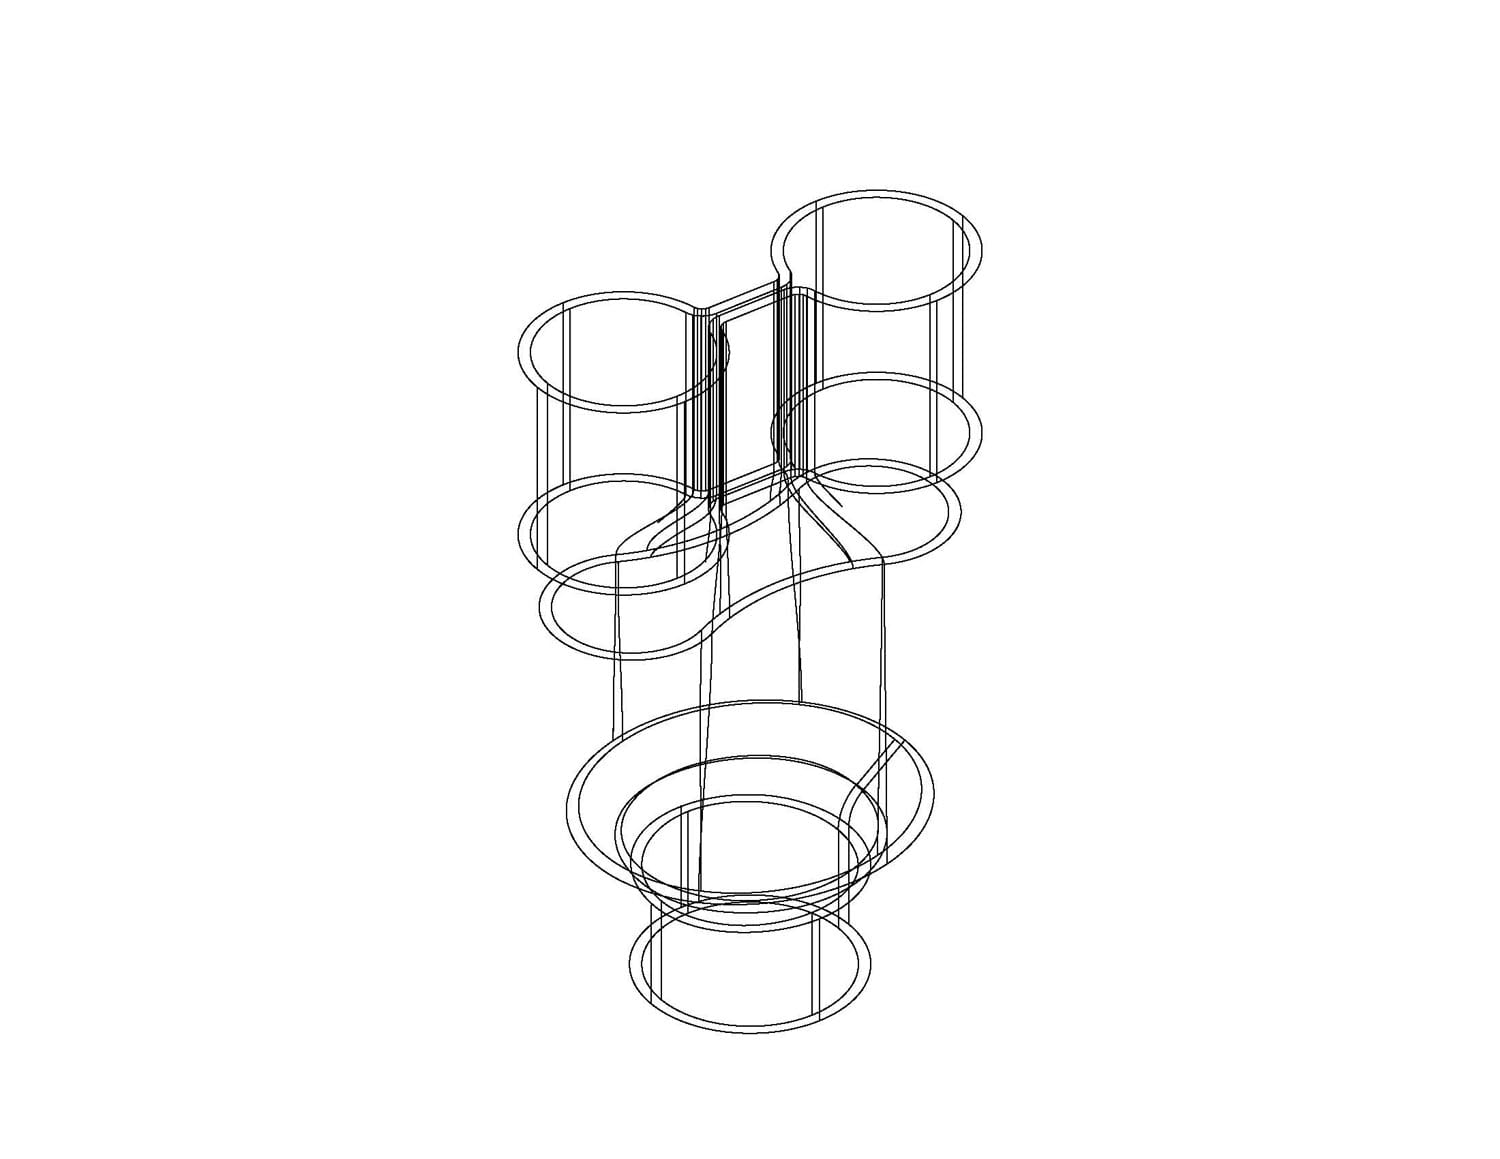
Copper Water Manifolds
Ask Our Team Anything
Have questions? Feel free to reach out. Our team is here to answer all your questions and guide you every step of the way.